The AWS console is a bit notorious for being difficult to navigate. While incredibly powerful, there are tons of pieces that live on different screens. Or maybe you’re on the right screen but in the wrong region in the upper righthand dropdown! (We’ve all been there, it’s okay.)
First, we’ll start with a background on what we were building and then go over the AWS pieces to make it work.
We wanted a scalable API for a mobile app. After looking at various technologies we settled on Golang. Go turns out to be about as opinionated as we are at Untold so we butted heads a bit, but I’ll save you that diatribe. During development we had a Docker compose file that defined a couple different services. It looked something like this:
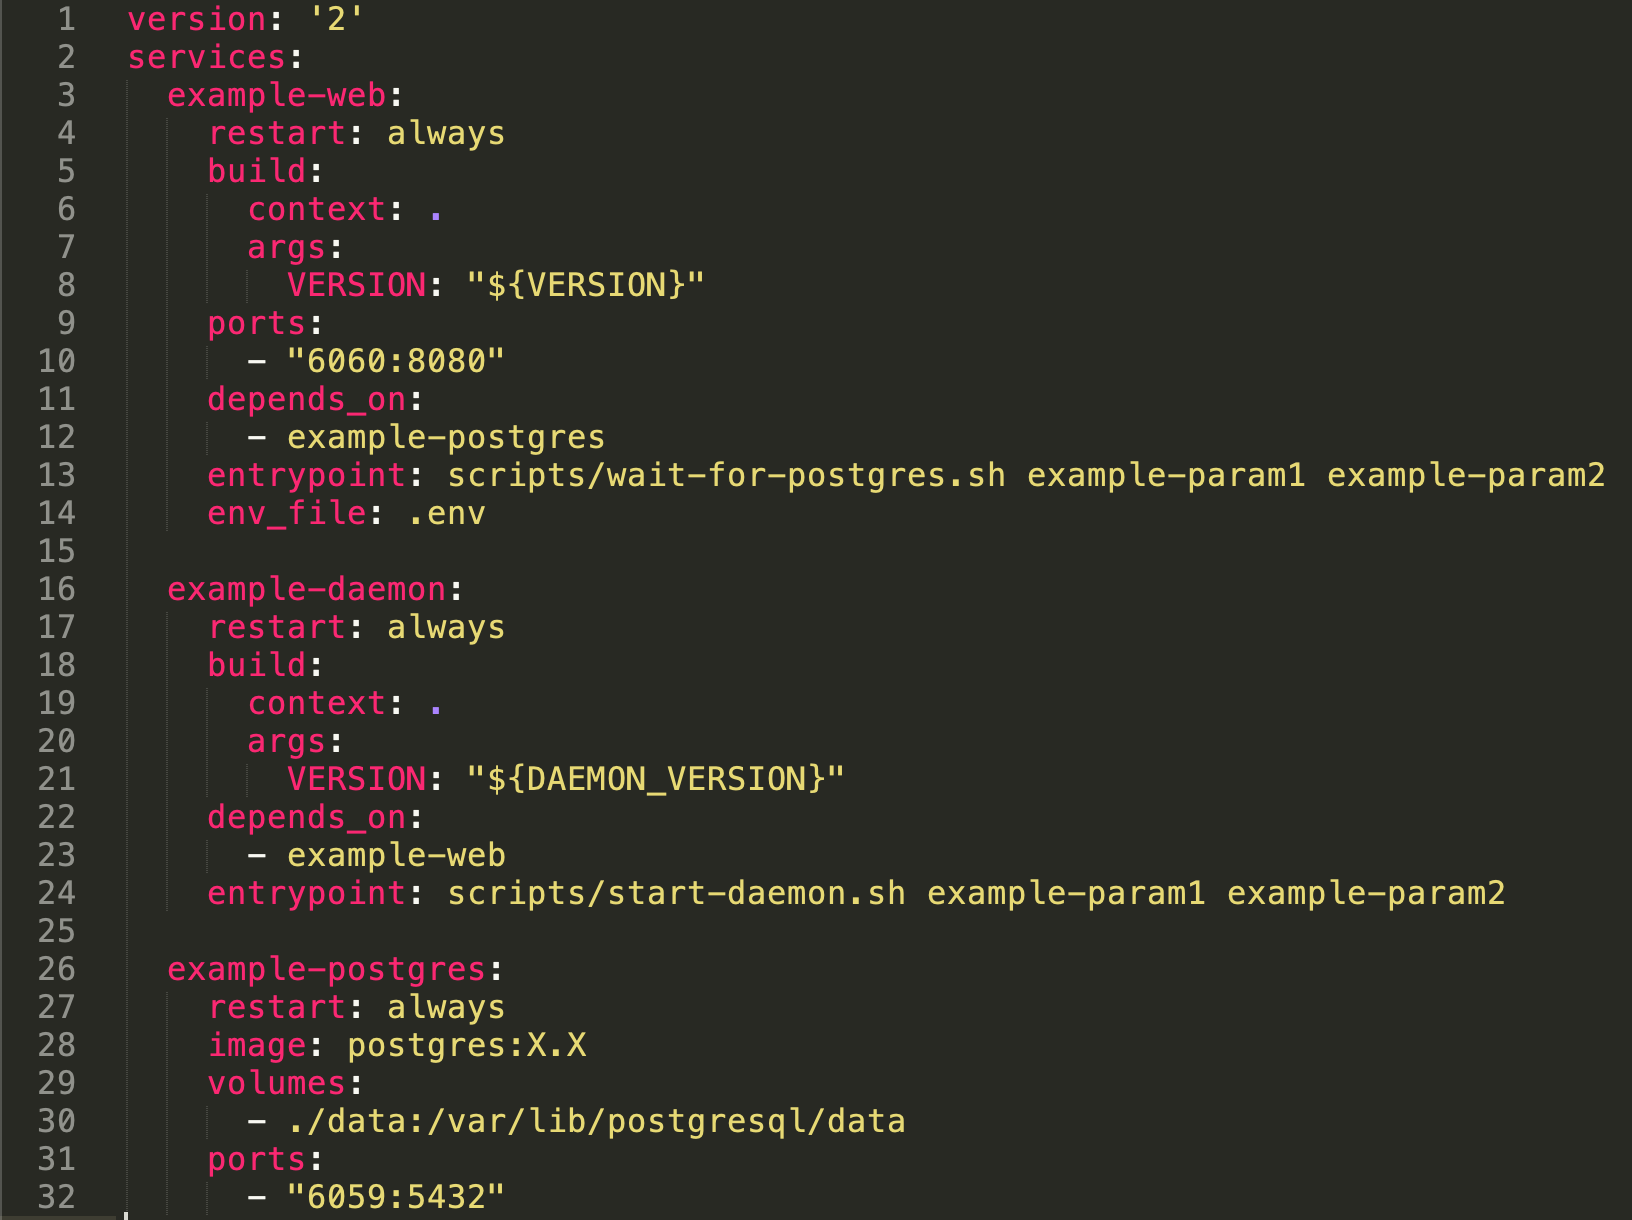
Some of this will come up later as we set up our containers.
Taking a step back, the high-level goal is what again? We want to hit an endpoint (a url) that’ll route to our API container that does logic and adds/returns info from a database. Oh yes, and we’ll want to have it encrypted and able to handle many, many connections. (Note: we’re going to leave out scaling and caching from this blog, but know that it’s available with AWS.)
Let’s start translating this into AWS terminology:
- Hit an endpoint: Load balancer (EC2 screen)
- API container: A cluster’s service based on a task definition that’s using a repository image. 😵 More on this later. (ECR screen)
- Database: Relational database service (RDS screen)
- Encrypted: Certificate manager (ACM screen)
We can start at the Elastic Container Registry screen. Under Repositories, we create a new repo.
AWS is pretty good about guiding us through this step. Follow the instructions to build your Docker image, tag it, and send it right on up into the cloud. For our purposes, we had two different "modes" for the same image, where we can flip the functionality with an argument. So we only needed one image.
Now our image is up on AWS, so just point a url at it and run, right? Well at the moment it’s just sitting there in storage somewhere, not doing anything. Next we need to set up Task Definitions.
In our case we have two Task Definitions for each mode: API and daemon. Create a new Task Definition, filling out information on the needed CPU and memory and whatnot. This is also where you add in environment variables. Note the Entry point where we can pass along command-line arguments relating to our docker-compose.yml file earlier.
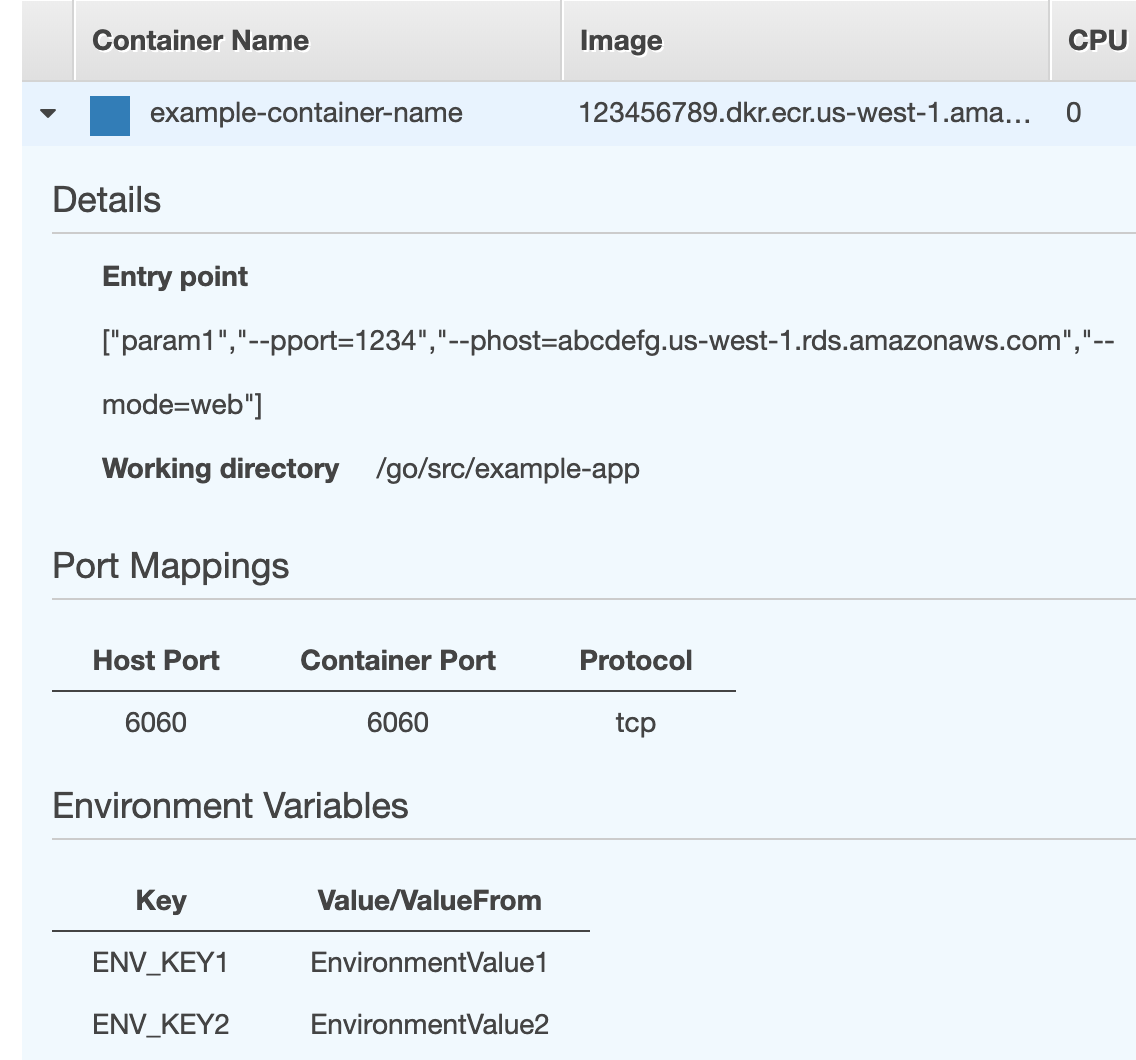
We can do the same process for setting up the daemon Task Definition, using different parameters in the entry point.
We’ve essentially described our tasks and how to start them, but they’re still not live. We’ll set up a new Cluster on that same screen. Then add an ECR Service. When you create a Service, you choose a Task Definition, and how hardcore you want to scale this thing. If you’ve filled out that wizard with a non-zero "desired count" it’ll spin up the Tasks right then and there.
Now that we’ve got our service(s) defined, we can begin setting up the application load balancer.
But first a quick pit stop at the Certificate Manager screen. Thank goodness we have services like Certificate Manager and LetsEncrypt these days. It’s basically a free, autorenewing SSL certificate. Let’s go ahead and create one, and follow all DNS instructions in order to validate it.
(Skipping ahead a bit, when you’ve successfully hooked up your certificate to your load balancer, this page should look as happy as the screenshot below.)

"Public SSL/TLS certificates provisioned through AWS Certificate Manager are free. You pay only for the AWS resources you create to run your application."
Source
Lastly, we head to the EC2 screen of the AWS Dashboard and set up our Load Balancer. This will likely be rather custom, but I’ll point out the important aspects.
We’ll point and click and generally fiddle with these two options. We’ll be setting up the certificate we’ve just made and pointing it to a Target Group.
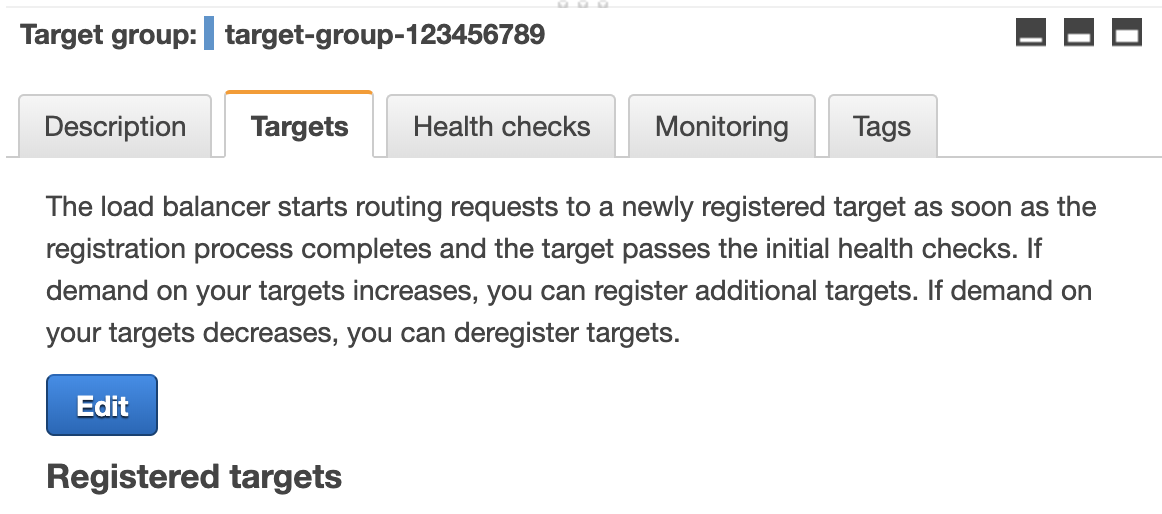
Our Target Group will be pointing to the Service we created on the ECR screen for API service that uses the API Task Definition that’s built from the Docker container image. (Making sense now?)
The load balancer forwards to this Target Group, and bingo: we have and endpoint hitting our API.

Miscellany
A quick word of advice/reflection. AWS is a very powerful system. It can be easy to assume that if something is not working, it must be your own fault in not understanding it. However, in my experience I’ve found there are legitimate quirks and to not blame yourself. I’ve also found that the cost-effective Developer Support subscription is quite worth it. Do yourself a favor and reach out to support if something seems glitchy because that can and does happen.
Quirk warning: If you run into issues with a custom port not hitting your container correctly, consider adding a Docker label like so:


